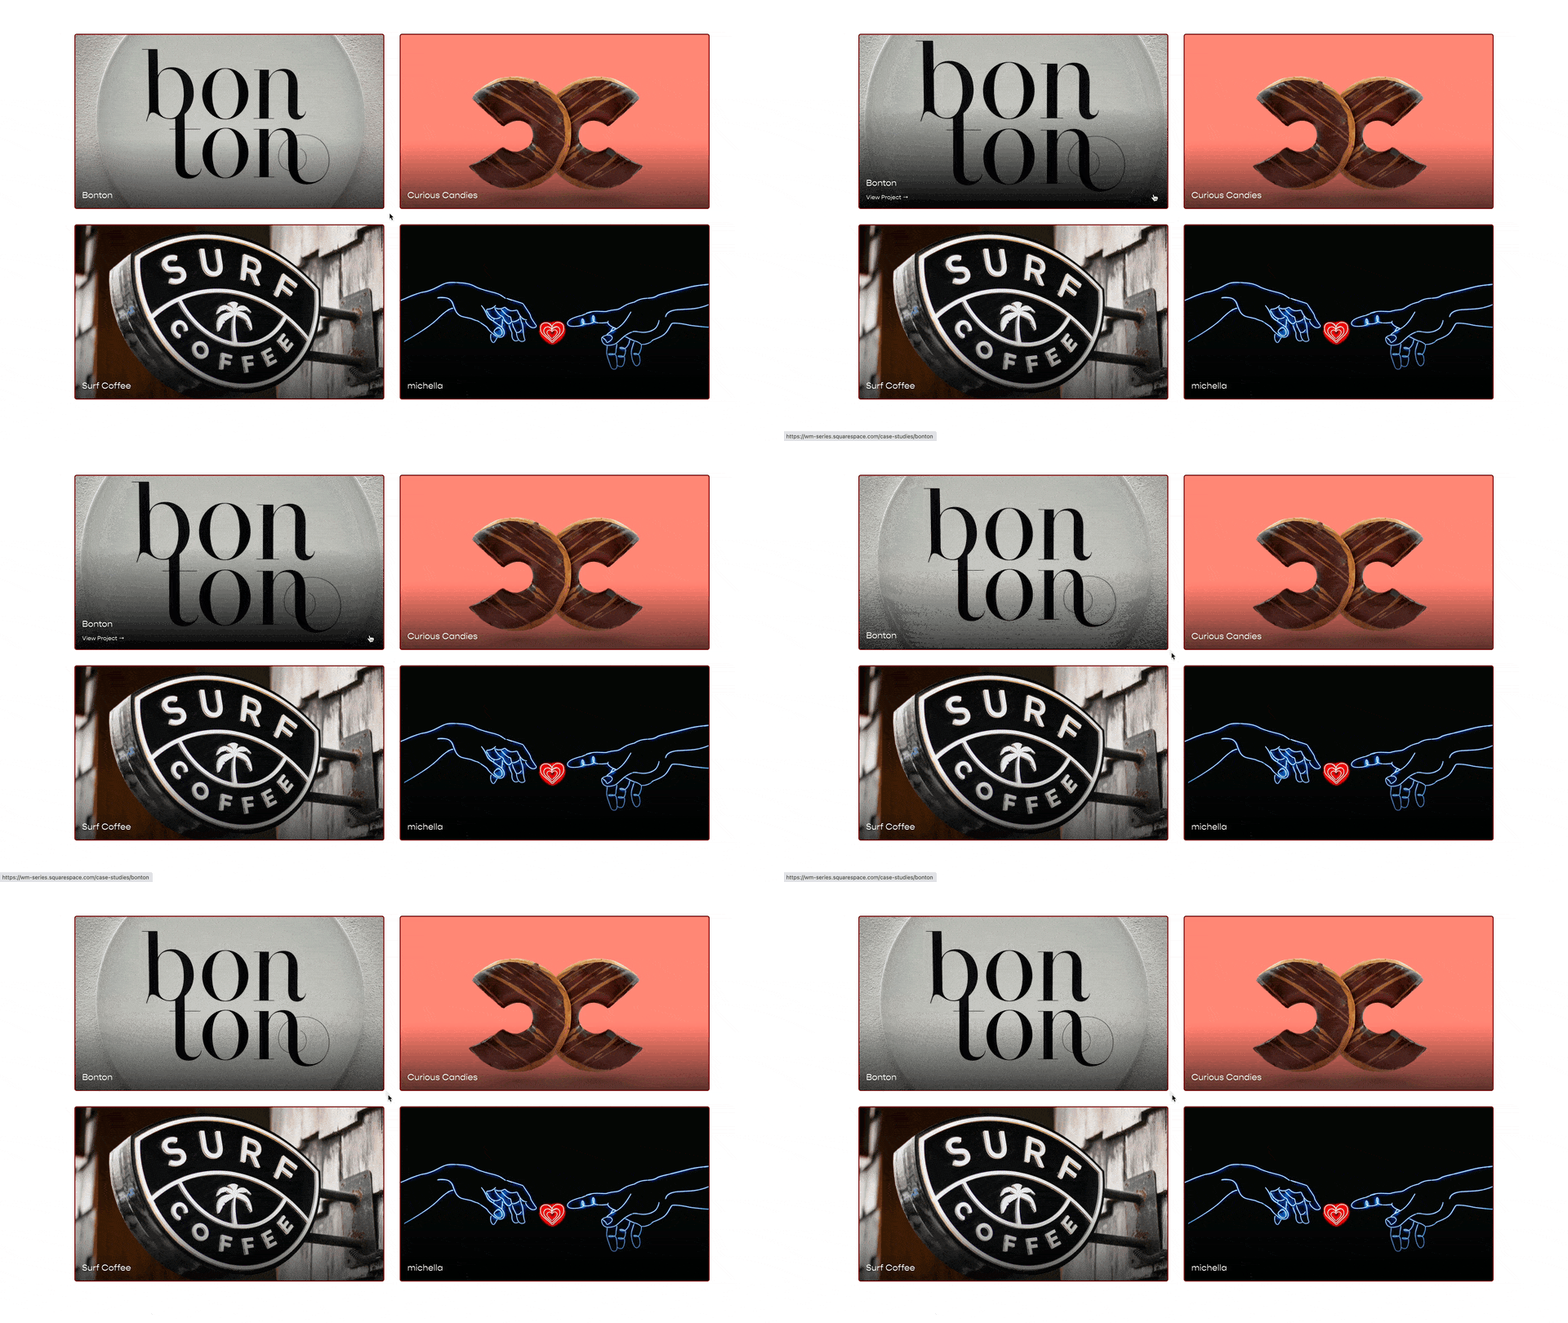
Replace Thumbnail Image on Hover
Currently, your thumbnail images can only display a single image. In this tutorial, I’ll walk you through how to display a different image on hover with just a bit of CSS.
There are two code snippets below. One is for use on a Blog Collection page, while the other is for use on a Summary Block. Copy and paste the code that you need into your Design » Custom CSS area.
Next replace the data-section-id with the specific data-section-id of the for your Blog Items or the block-id of your Summary Block. Use the Squarespace ID Finder tool to help find your id.
To replace an image on hover for a blog item, you first need to target the right blog item. To do this, replace the "POST_URL" text with the url for that blog post item (everything after the .com). This targets that specific blog item.
Next, add a background image to that item by replacing the "NEW_IMG_URL" text within the url() function of the background-image property.
To upload an image to your Squarespace website, use the “Manage Custom Files” uploader in your Custom CSS area.
Clicking on the image you just uploaded will place that image’s URL where your cursor was in the Custom CSS area.
For Blog Items
/**
* [PAGE NAME]
* Display New Image on Hover
**/

section[data-section-id="123"] {
  //All Item Settings
  .image-wrapper img {
    opacity: 1;
    transition: opacity 0.3s ease;
  }
  .image-wrapper {
    background-size: cover;
  }

  //Template
  .image-wrapper[href*="POST_URL"] {
    &:hover img {
      opacity: 0;
    }
    background-image: url("NEW_IMG_URL");
    background-position: 50% 50%;
  }
}
For Summary Blocks
/**
* [PAGE NAME]
* Display New Image on Hover
**/

#block-id {
  //All Item Settings
  .summary-thumbnail-outer-container img {
    opacity: 1;
    transition: opacity 0.3s ease;
  }
  .summary-thumbnail-outer-container a {
    background-size: cover;
  }

  //Template
  .summary-thumbnail-outer-container a[href*="POST_URL"] {
    &:hover img {
      opacity: 0;
    }
    background-image: url("NEW_IMG_URL");
    background-position: 50% 50%;
  }
}
The below codepen is what I used in my example, feel free to play around with the HTML & CSS tabs to get a deeper understanding of how this works. Or hit the “Edit in Codepen” Logo in the top right to open this in a new tab.
See the Pen Simple Image Hover Effect by Will Myers (@Will-Myers) on CodePen.
Thanks again to my friend Sam Hancock for letting me use his website for the tutorial.
Related Code Snippets
The below Code Snippets are available to Code Curious members.


