Auto Scroll for Carousel & Banner Slideshow’s for Auto Layout Sections in Squarespace 7.1
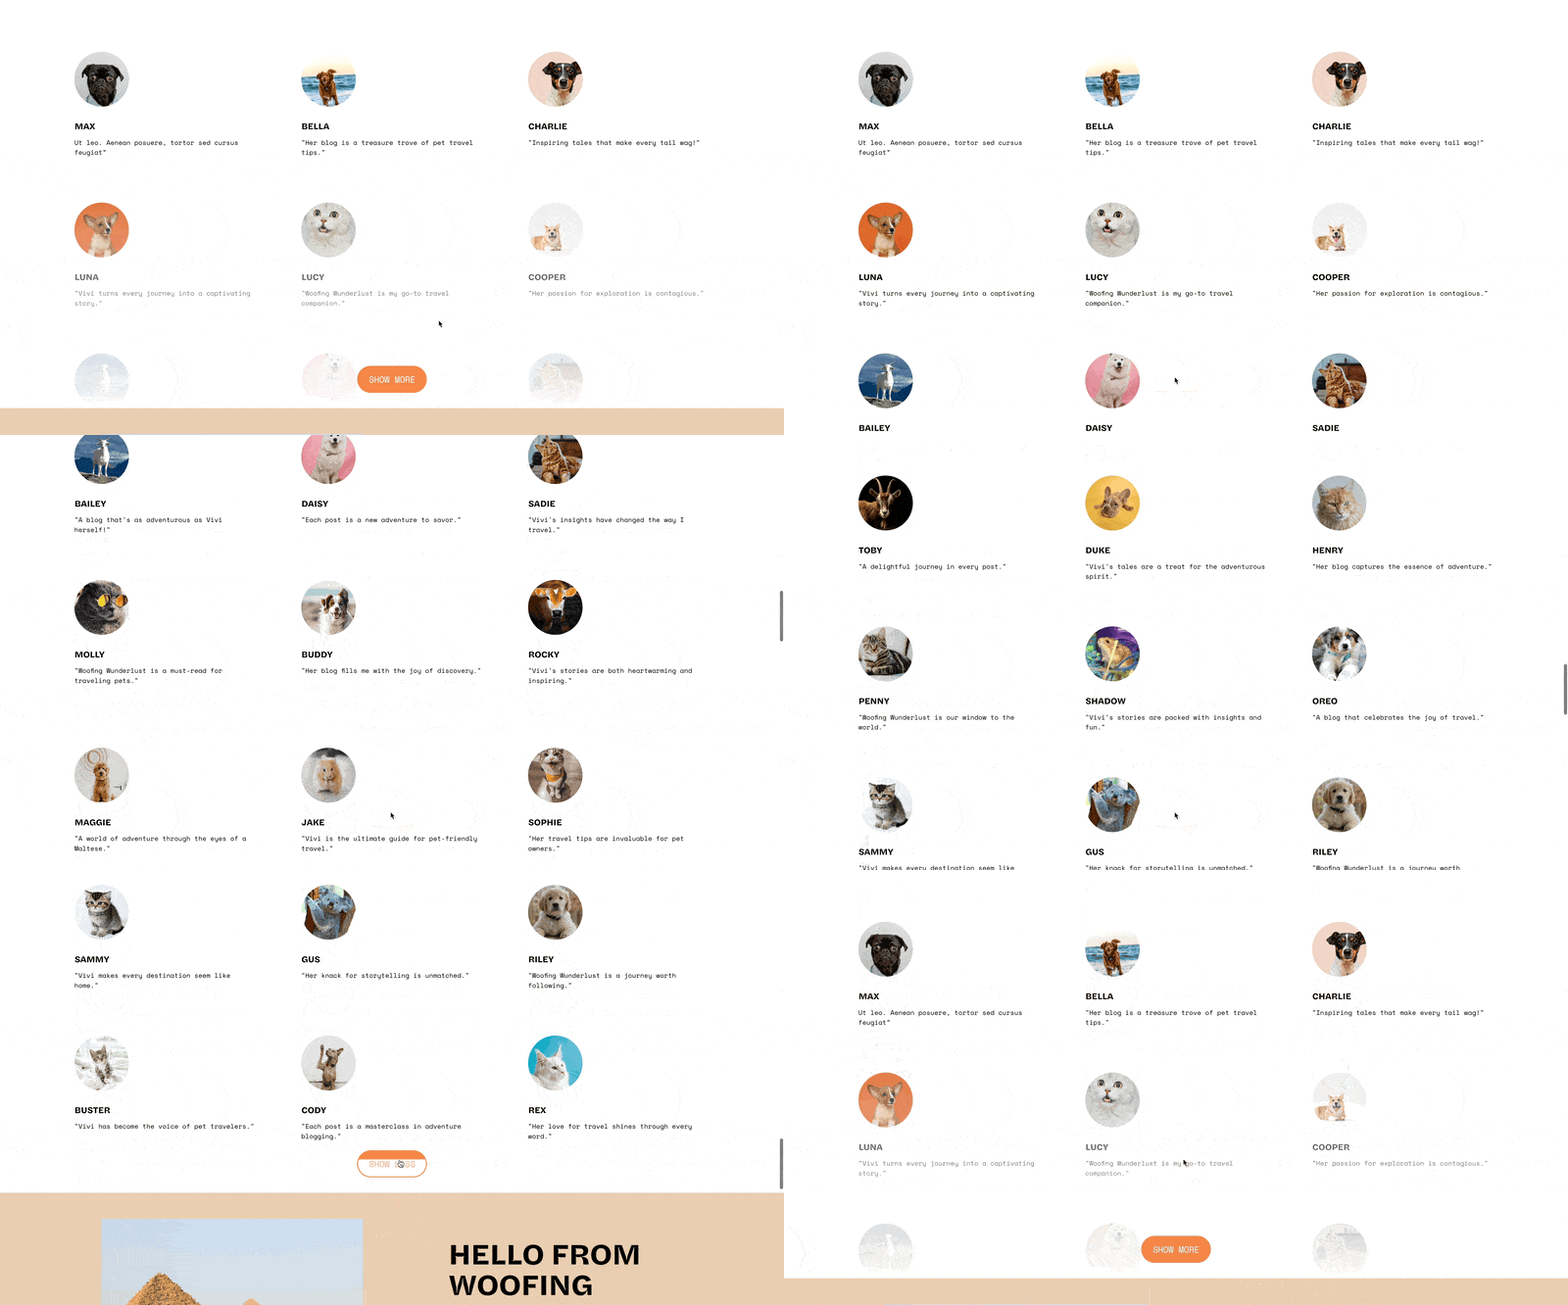
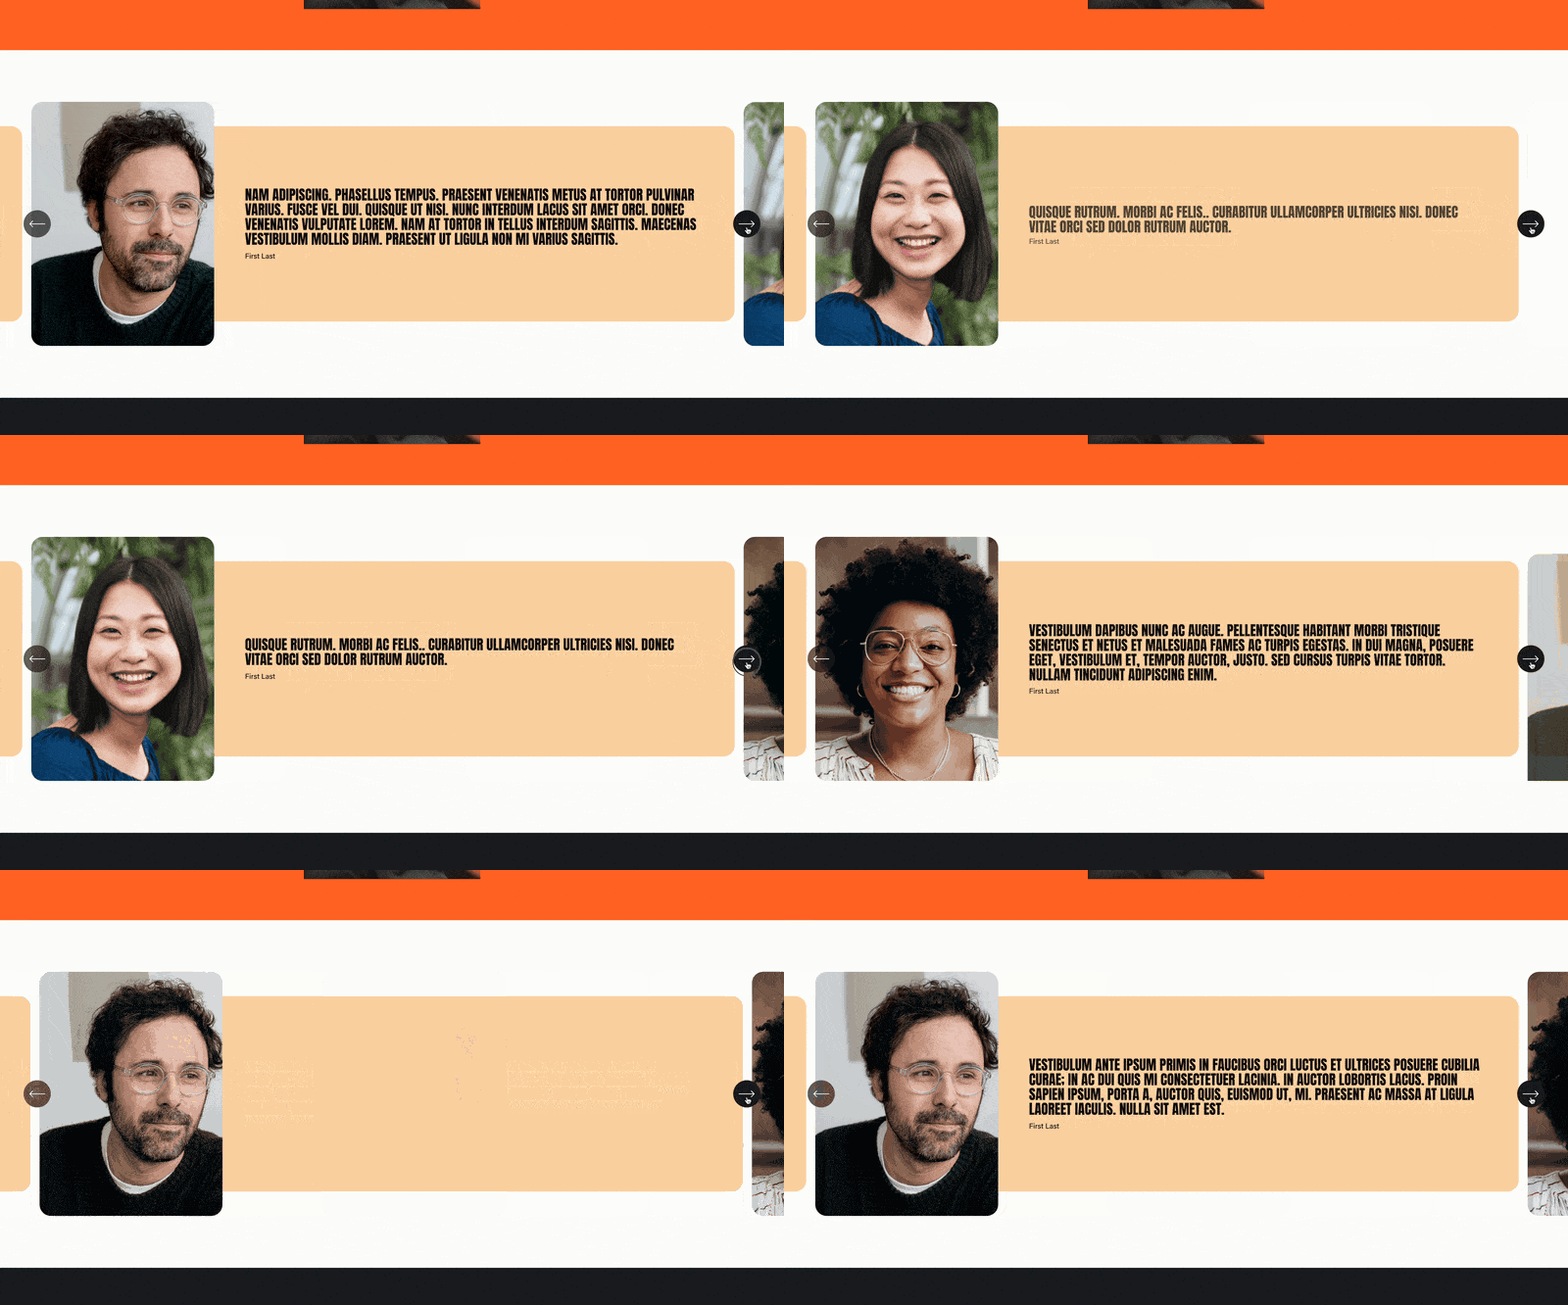
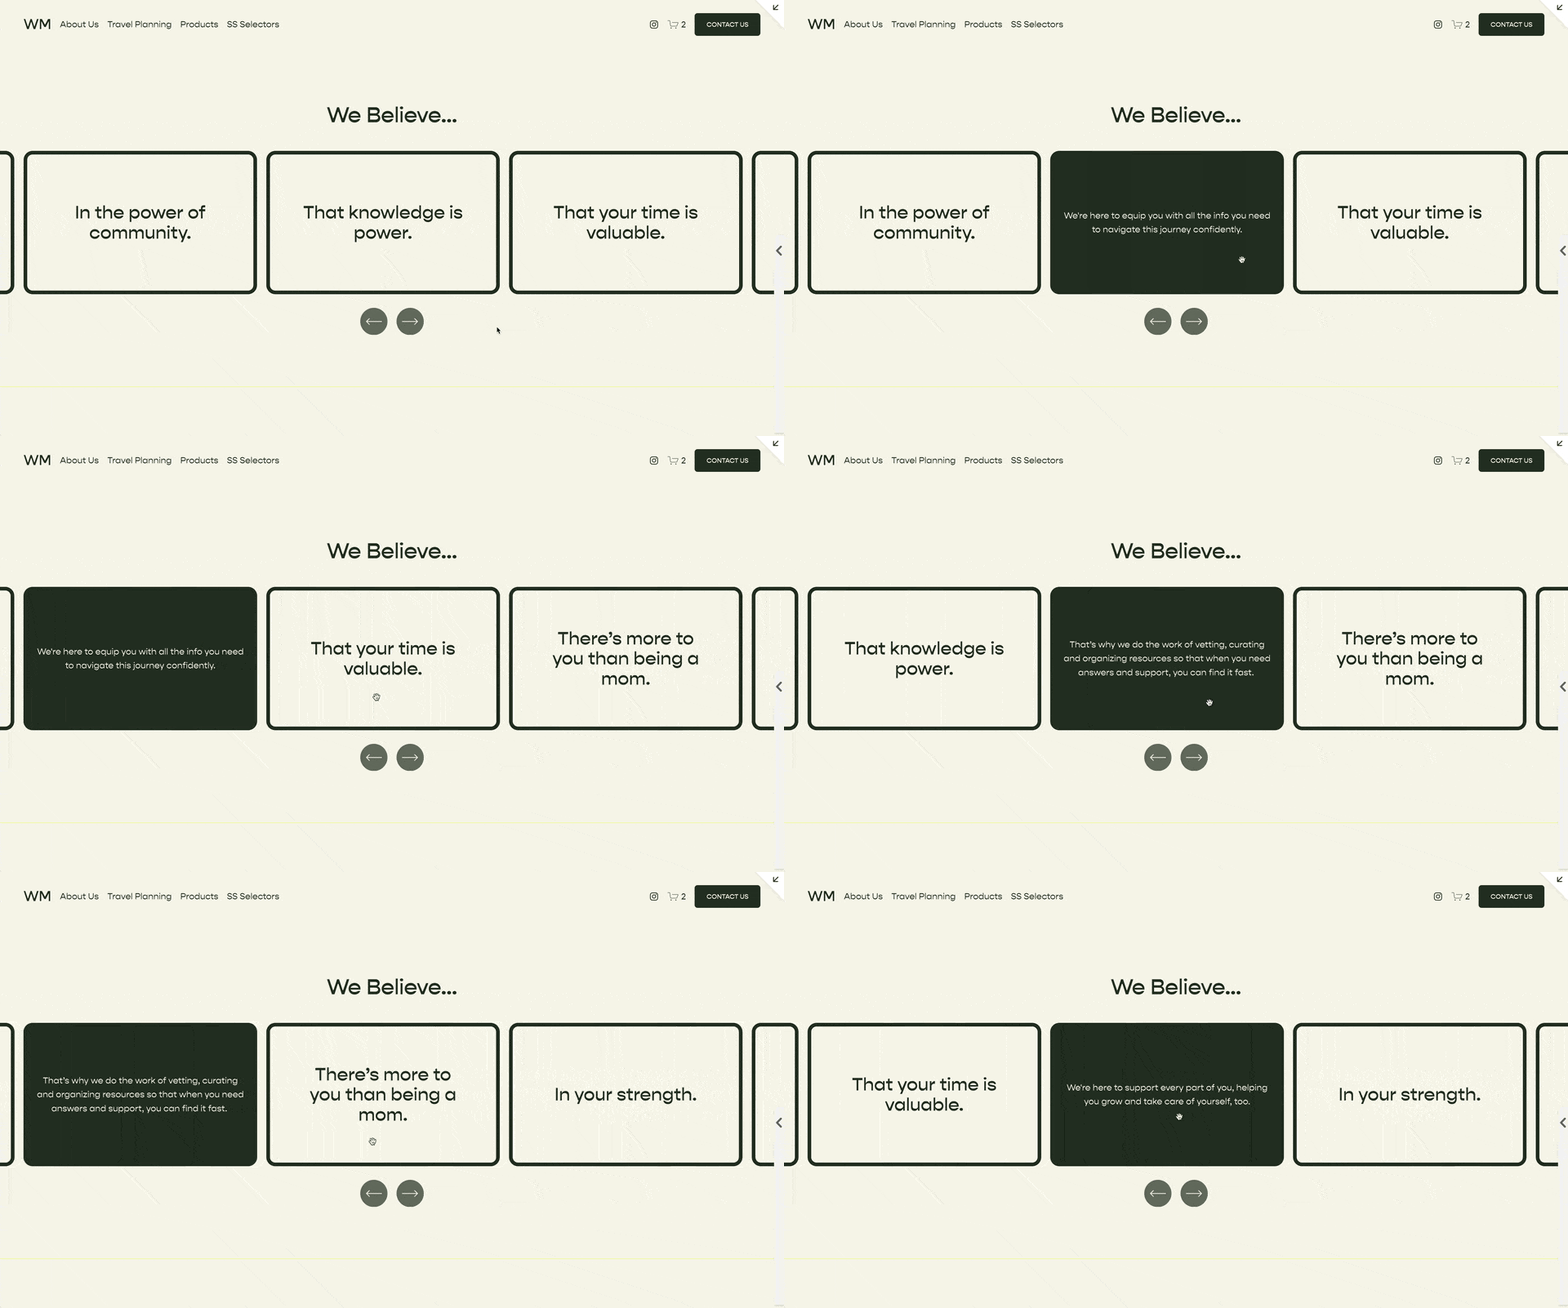
In this article, I’m going to walk you through setting up an auto-scrolling Carousel or Banner Slideshow in your Auto Layouts section.
The below code will work for the first Auto Layouts section on your website. If you want to apply this code to more than one Auto Layout Section separate the section id’s with commas.
Setup Auto-Scroll
-
Navigate to your page with an Auto-Layouts section
(or create a new page with an Auto-Layouts Section) -
Set your Layout Section design to “Banner Slideshow” or “Carousel”
(Edit Content » Design) -
Turn on the Navigation Arrows
(Edit Content » Design » Style » Navigation Controls » Arrows.) -
Paste the following code into the Page Header Code Injection
(Page Settings » Advanced)
<!-- Auto Scroll Layout Sections from Will-Myers.com -->
<script>
  (function(){
    let playInBackend = true,
        timing = 3,
        section = '',
        direction = 1; //1 = forwards, 0 = backwards

    /*Do not Adjust below this line*/
    function AutoScrollLayout(e){if(null==(e=""==e?document.querySelector(".user-items-list-section"):document.querySelector(e)))return;let n,t,o,i,c,r=!1,u=e.querySelectorAll('button[class*="__arrow-button"]');function s(){n=setInterval(d,t)}function d(){o=document.querySelector("body.sqs-edit-mode-active"),i=document.querySelector(".sqs-modal-lightbox-open, .wm-mega-menu--open"),r||o||i||!c||u[direction].click()}t=1e3*timing;if(document.addEventListener("visibilitychange",(function(){r=!!document.hidden})),["mousedown","touchstart"].forEach((n=>{e.addEventListener(n,(function(){r=!0}))})),["mouseup","touchend"].forEach((t=>{e.addEventListener(t,(function(){r=!1,clearInterval(n),s()}))})),window.IntersectionObserver){new IntersectionObserver(((e,n)=>{e.forEach((e=>{c=!!e.isIntersecting}))}),{rootMargin:"-75px 0px -75px 0px"}).observe(e)}u[direction]&&s()}window.addEventListener("load",(function(){let e=new Array;e.push(section),section.includes(",")&&(e=section.split(",")),e.forEach((e=>{(window.top==window.self||window.top!==window.self&&playInBackend)&&new AutoScrollLayout(e)}))}));
  }());
</script>
This code will make the first auto-layouts section on the page transition every 3 seconds.
Auto Slide Settings
This slider has 3 settings. Make these adjustments in the variables at the top of the code.
playInBackend - set this to true or false. If true, the slider will auto-transition while you’re in the Squarespace editor. Be aware that this can cause the Editor mode to pop up unexpectedly, so I prefer to keep this setting on false.
timing - set this to any number value. This sets the time interval between slides in seconds.
sections - set this to the specific Layout section or sections you want the auto-slider to work on using the data-section-id.
(ex. sections = '[data-section-id="1"], [data-section-id="1"]' )
Pausing
This auto-scroll slider simulates a click of the ‘next’ arrow, which can cause some issues for the user. My code adjusts for these issues by:
Pausing the slides when it’s not on the screen
Pausing the slides if a user is scrolling (or swiping) the slides manually
Pausing the slider if a lightbox is open
For Developers
If you’re a developer and want to see the non-minified version of this code, view the code below.
<script>
(function() {
  /*Adjust these Variables*/
   let playInBackend = true,
        timing = 3,
        section = '',
        direction = 1;

    /*Do not Adjust below this line*/
  function AutoScrollLayout(el) {
      if (el == '') {
        el = document.querySelector('.user-items-list-section');
      } else {
        el = document.querySelector(el)
      };
     if (el == null) return;
      let isPaused = false,
          timer,
          interval,
          stopEvents = ['mousedown', 'touchstart'],
          restartEvents = ['mouseup', 'touchend'],
          editMode,
          popupMode,
          visible,
          btns = el.querySelectorAll('button[class*="__arrow-button"]');

      interval = timing * 1000;

      function setTimer() {
          timer = setInterval(checkSlide, interval);
      };

      function checkSlide() {
        editMode = document.querySelector('body.sqs-edit-mode-active');
        popupMode = document.querySelector('.sqs-modal-lightbox-open, .wm-mega-menu--open');
        if (!isPaused && !editMode && !popupMode && visible){
          slideRight();
        }
      }

      let resetTimer = () => {
        clearInterval(timer);
        setTimer();
      }

      document.addEventListener('visibilitychange', function() {
        if(document.hidden) { isPaused = true; }
        else { isPaused = false; }
      });

      stopEvents.forEach(event => {
        el.addEventListener(event, function() {
          isPaused = true;
        });
      });

      restartEvents.forEach(event => {
        el.addEventListener(event, function() {
          isPaused = false;
          resetTimer();
        });
      });

      if(!!window.IntersectionObserver){
        let observer = new IntersectionObserver((entries, observer) => {
          entries.forEach(entry => {
            if(entry.isIntersecting){
              visible = true;
            } else {
              visible = false;
            }
          });
        }, {rootMargin: "-75px 0px -75px 0px"});
        observer.observe(el)
      }

      function slideRight() {
        btns[direction].click();
      }

      if (btns[direction]){
        setTimer();
      }
    }

    window.addEventListener('load', function(){
      let els = new Array;
      els.push(section);
      if (section.includes(',')) els = section.split(',');
      els.forEach(el => {
        if (window.top == window.self || ( window.top !== window.self && playInBackend)){
          new AutoScrollLayout(el);
        }
      });
    });
  }());
</script>
You need to have your navigation arrow turned on in the settings, but you can hide them using CSS. Add this code to your Design » Custom CSS area. Be sure to replace the UNIQUE_ID below with the unique id of the section you’re using.
Design » Custom CSS
section[data-section-id="UNIQUE_ID"] {
  .desktop-arrows, .mobile-arrows {
    display:none !important;
  }
}
Related Code Snippets
The below Code Snippets are available to Code Curious members.

