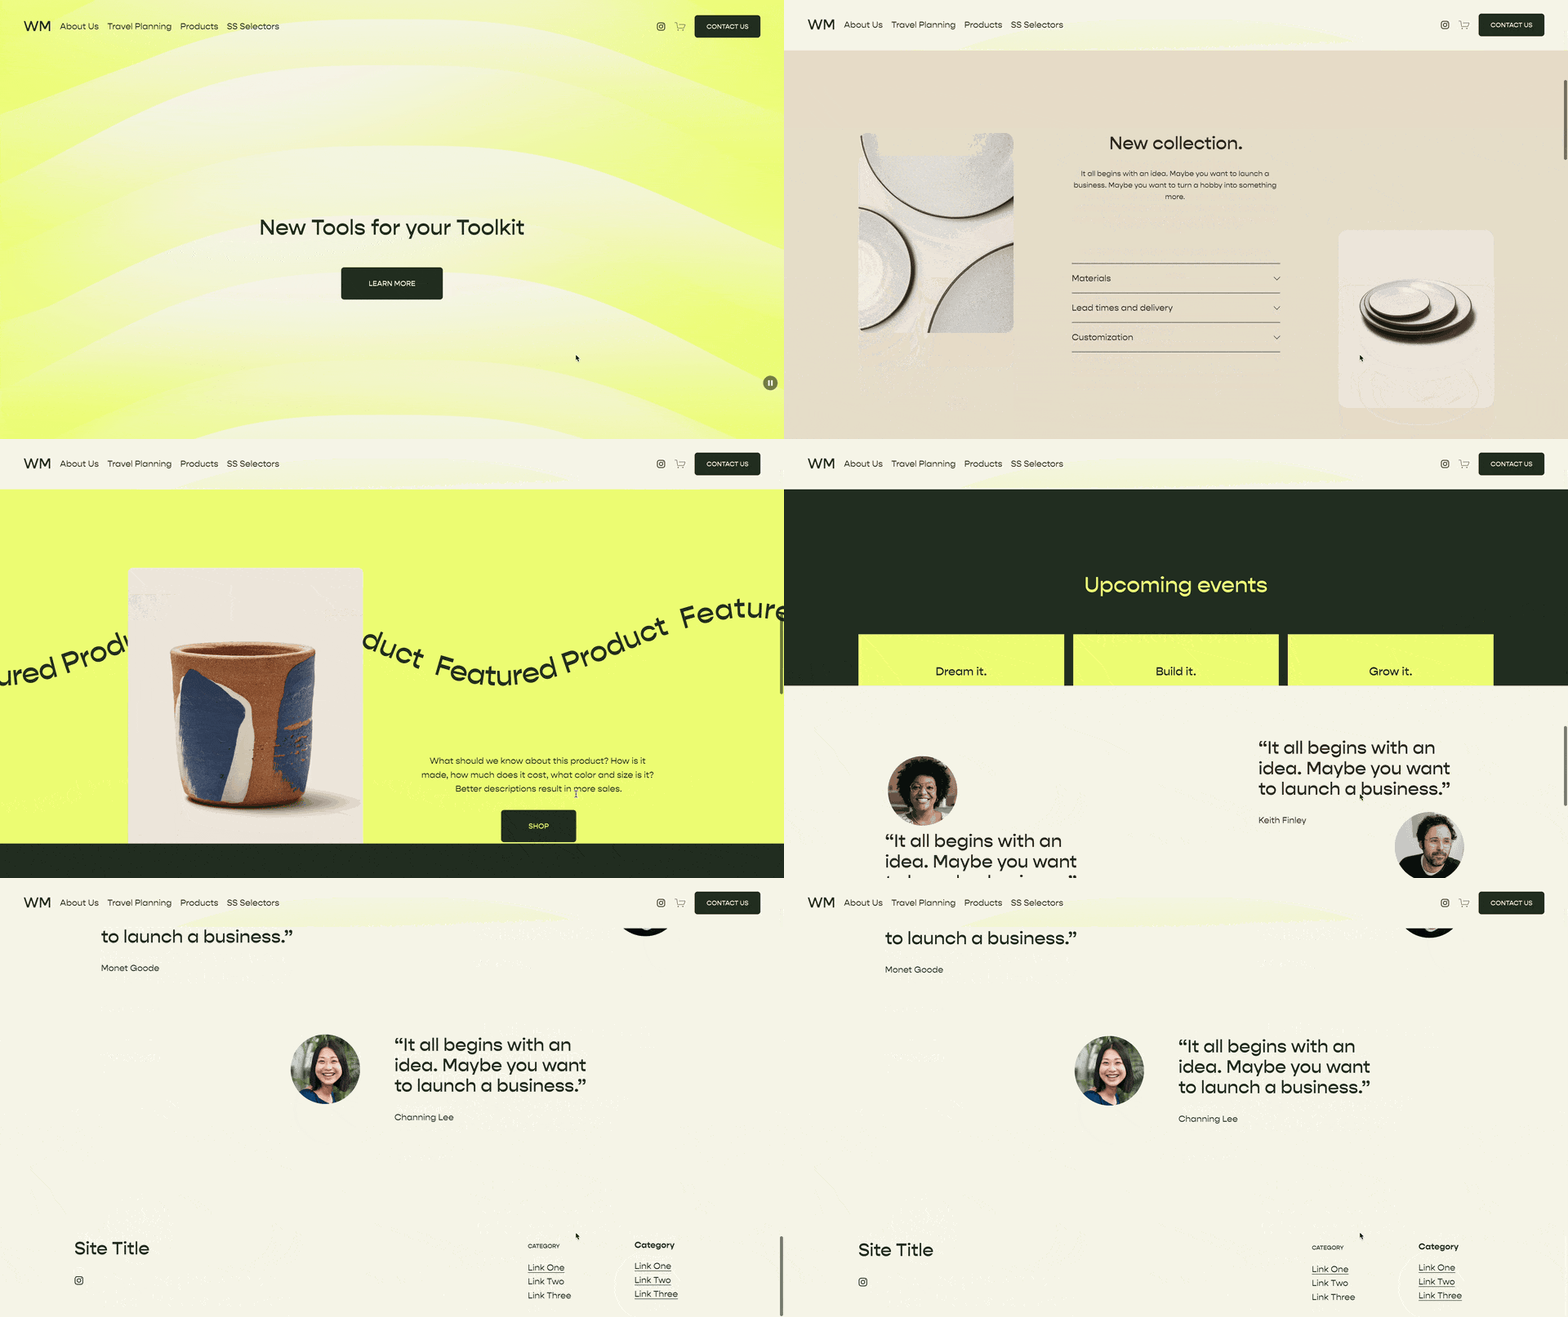
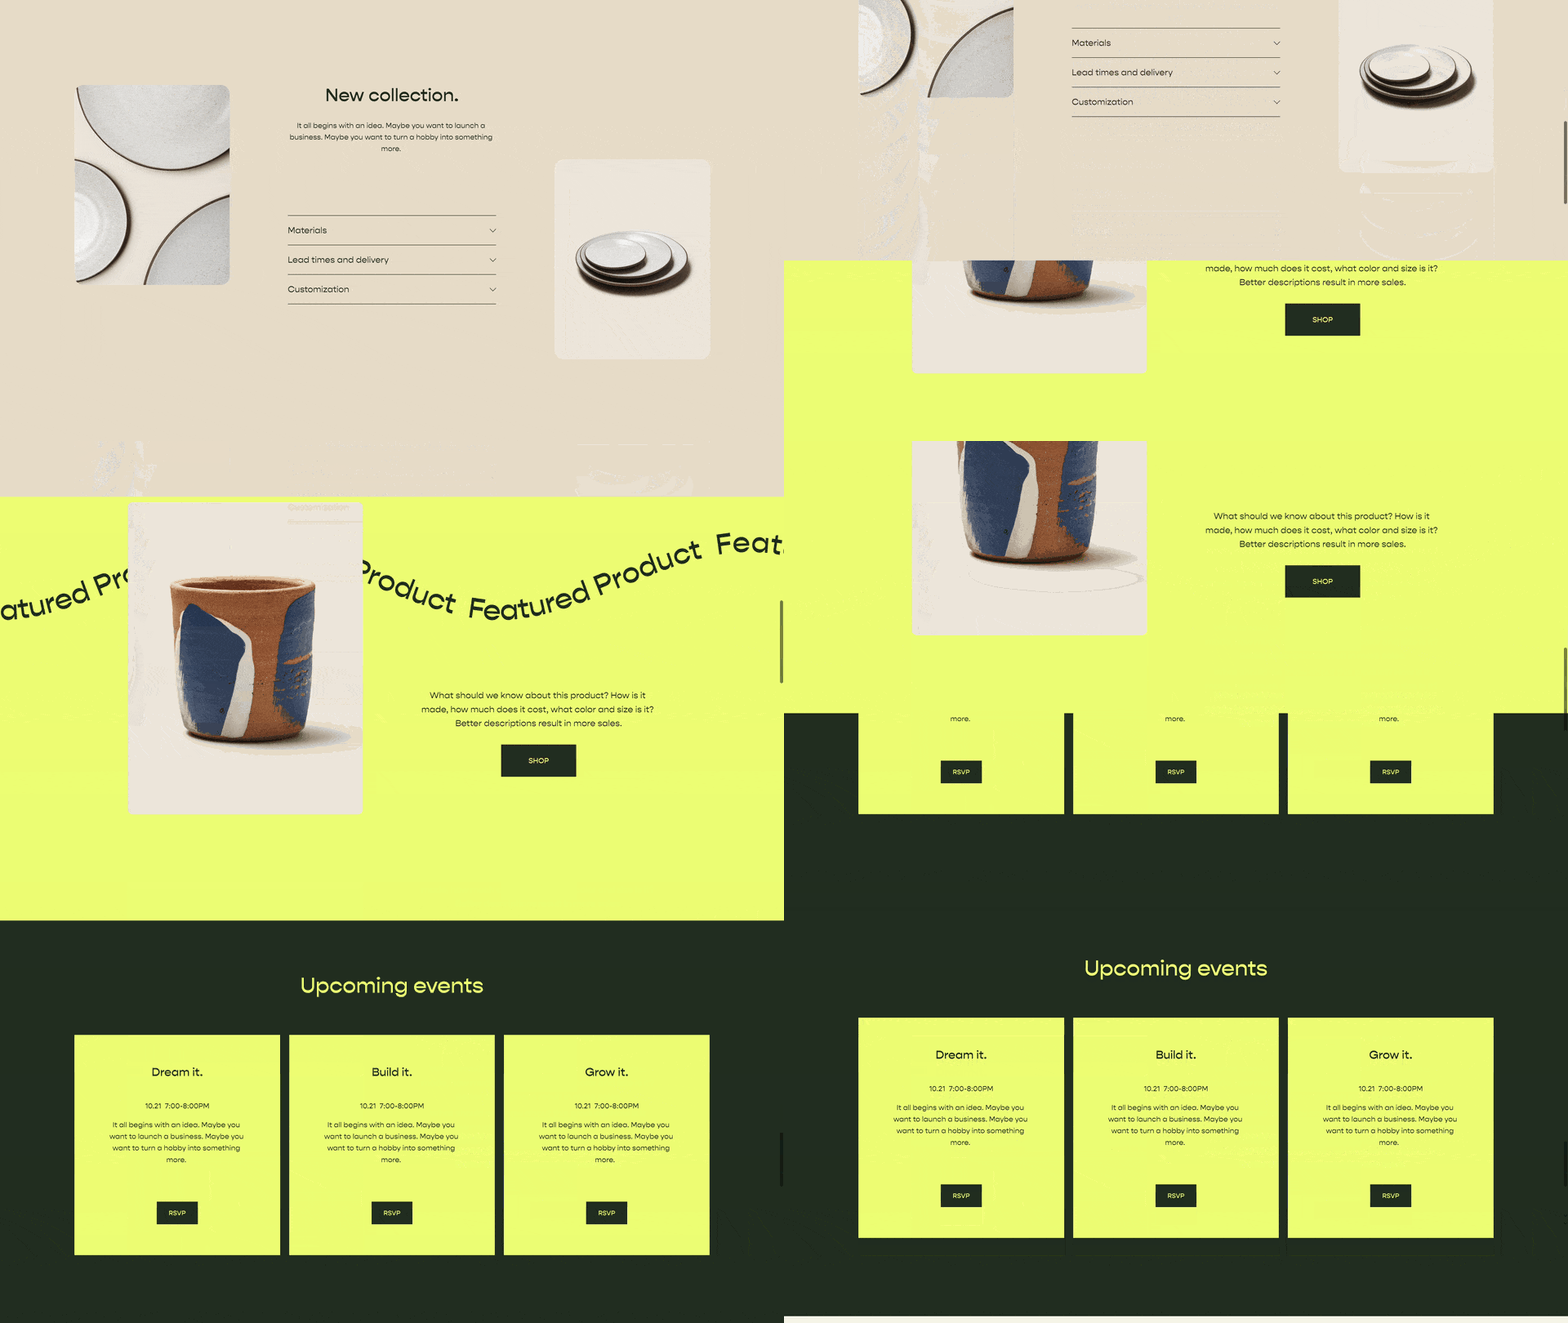
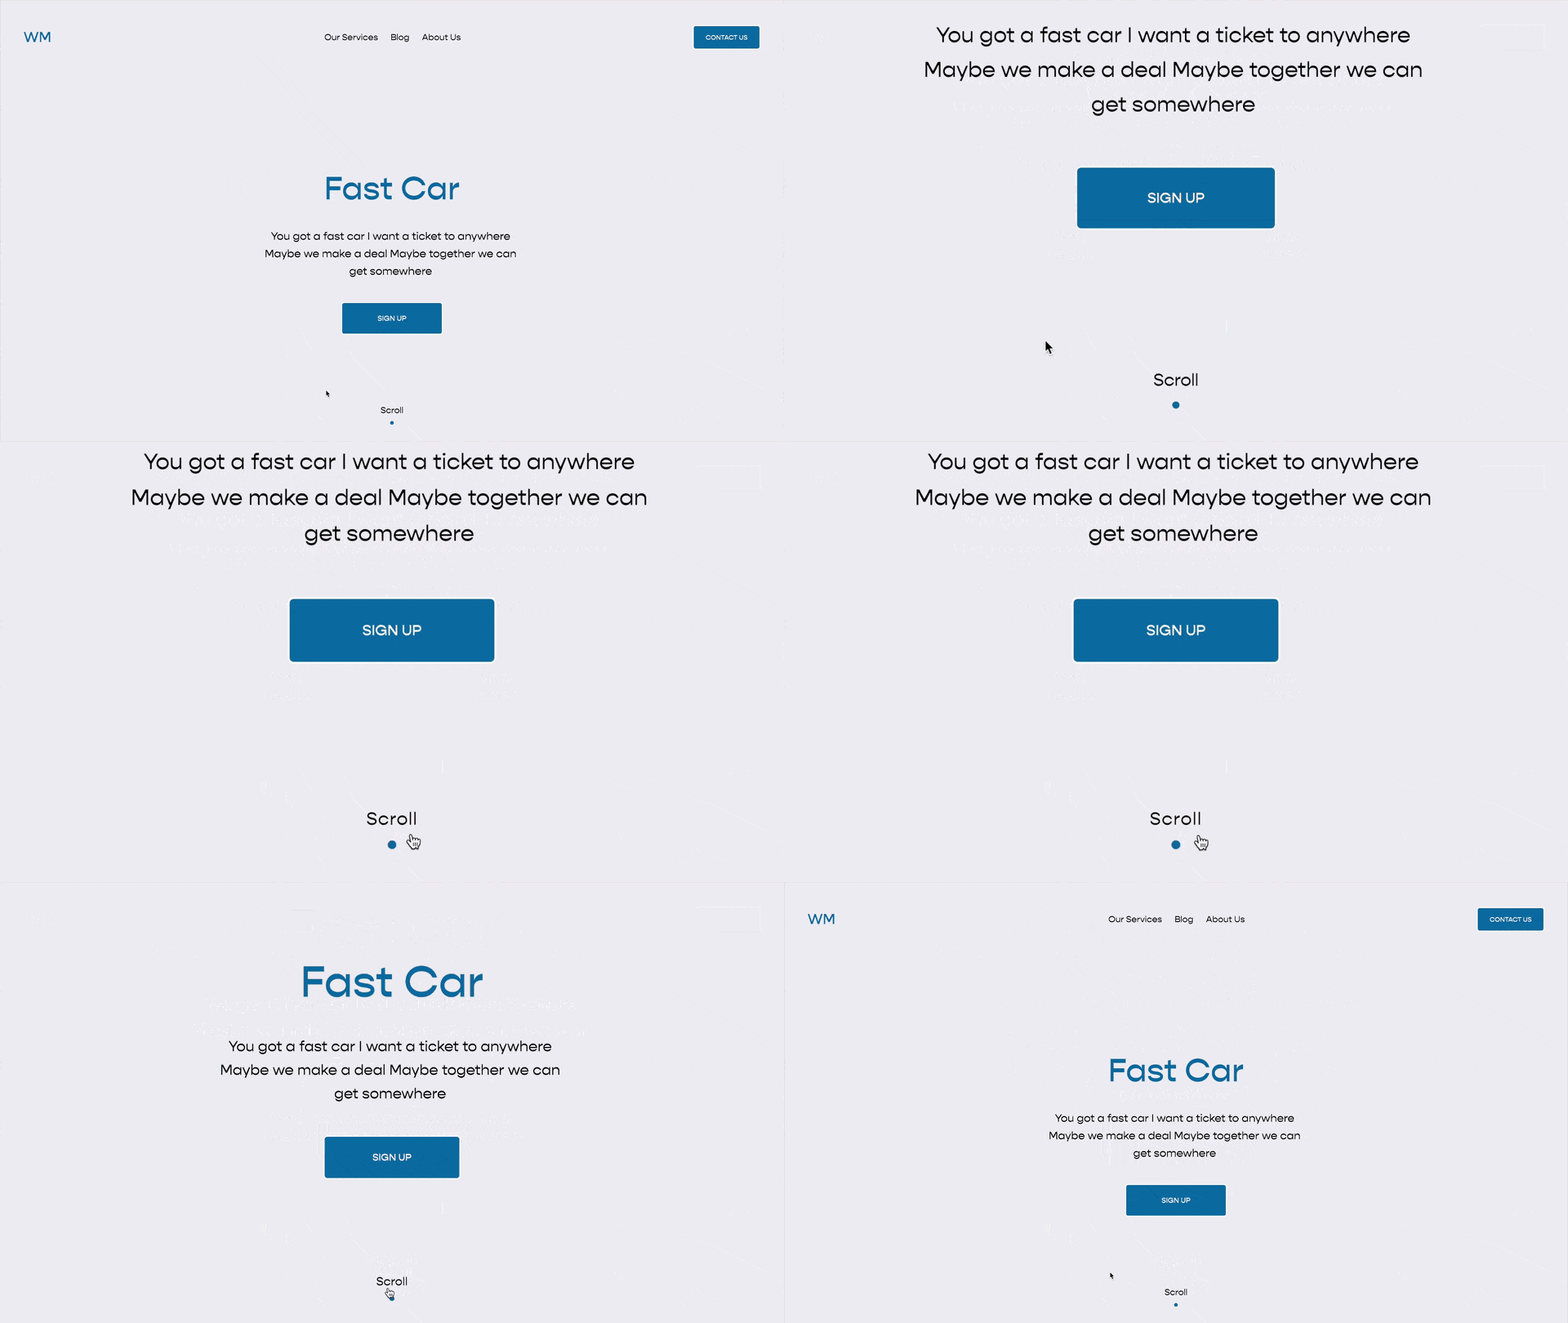
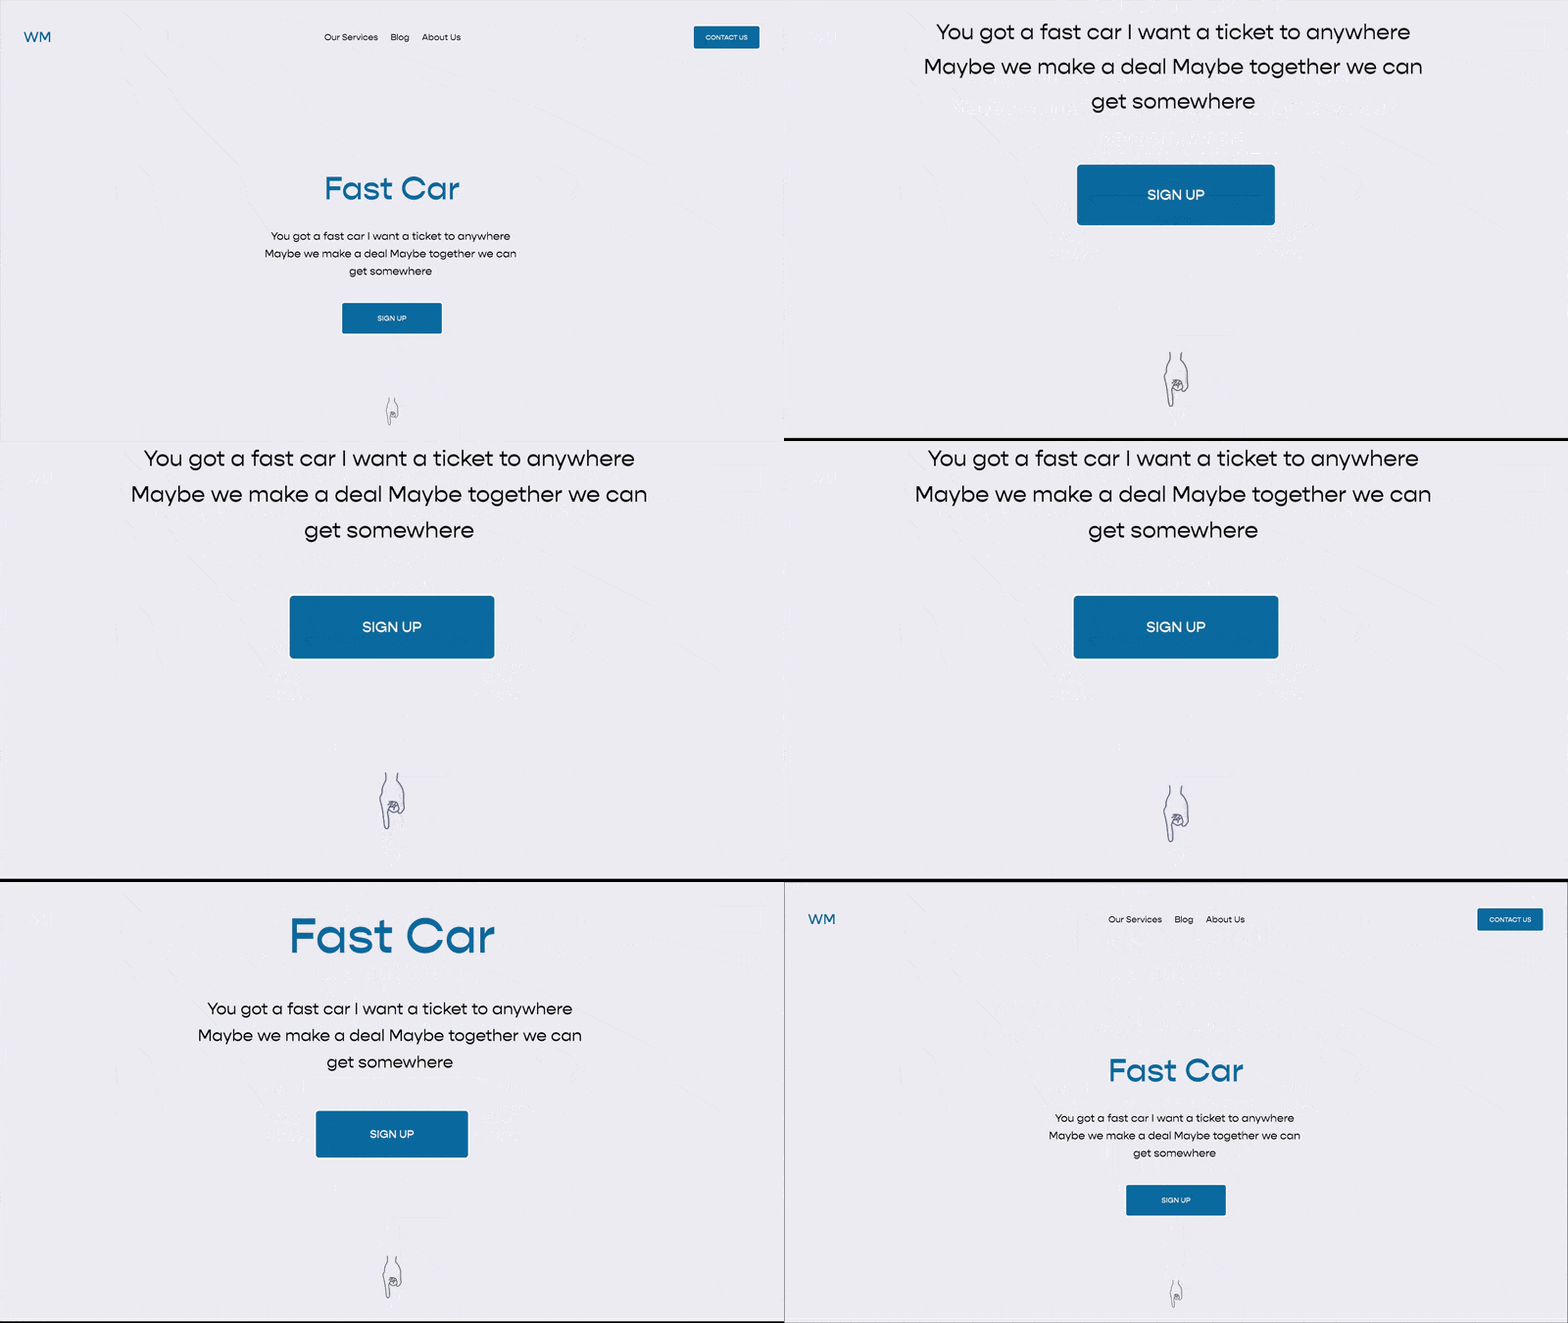
Using jQuery to Build a Show / Hide Section Toggle
jQuery provides us with a simple syntax to create UI Components on our website. Today, let’s use jQuery to turn a Squarespace button into a toggle that shows or hides a section.
Just want a plugin?
Don’t want to fiddle with code? The Expand 2.0 plugin by SQSMods allows you to show and hide multiple Squarespace sections on a page without diving into a bunch of code.
#Article
This series will be excellent for anyone interested in learning more about jQuery, how it works, and how to implement it to create more advanced functionality on their website.
Here is what our component will do:
Show or Hide a page section as a user clicks on a button.
Change the button text to “Show” or “Hide”
Here is what we’ll cover in the series:
Loading jQuery
Showing & Hiding Elements
Preventing a Button from Navigating (and why we want this)
Changing a Buttons Text
Creating functions and using variables (Part 2)
Making Our Code Reusable (Part 2)
A Simpler Installation (Part 2)
Fade Element in and out (Part 3)
Slide Element in and out (Part 3)
Adjust the Timing of Fade & Slide Transitions (Part 3)
Join the Curious Coder Membership to get access to the other two lessons in this series along with many more premium tutorials for Squarespace designers and developers. Lot’s to cover, so let’s get started!
#Playing with Javascript
You can run Javascript from your Squarespace website by placing code between <script> tags. Paste in the following code snippet into a code block on your website:
Congrats, you just ran some javascript!
However, this isn’t a great way to build and test javascript.
That took about five clicks and 20 seconds. This might not sound like much, but you’ll be testing things dozens of times for each component you build, and that time adds up. So we need a better developer environment.
CodePen is a coding "playground" for us to test our HTML, CSS, and Javascript. We can quickly and easily run code, make a change and try something again. Throughout my videos, I’m going to be using CodePen as a place to demonstrate what’s happening.
To create a new Pen, navigate to pen.new in your browser. Feel free to create a free account and save your Pens, but that’s not necessary. Additionally, you can get the final code Pen for each lesson using the provided link:
#Loading jQuery
We’ll be using jQUery throughout this tutorial, so we’ll need to load jQuery onto CodePen and website.
To load jQuery onto our CodePen, hit the gear icon on the “JS” tab, type in “jQuery” into the “Add External Scripts/Pens” area, select the most recent version, and hit enter.
To load jQuery onto your website, go to the jQuery CDN page and copy the most recent version (3.x) of jQuery, and paste it into your Settings » Advanced » Code Injection Header area of your website.
Ok, enough with the boring stuff; let’s get building.
#Show / Hide Method
With jQuery loaded, we have access to a bunch of functions (or “methods”) that we can use to change elements on our webpage.
One of them is a really easy way to hide an element — the hide() method.
There’s also a really easy way to show something that’s been hidden — the show() method.
So if we target a page section and run the hide() method, the page section will disappear:
Cool! Now, we need to make that happen as a user clicks a button.
#Click Event
With jQuery, we also have access to the on() method, which allows us to run a function when a user clicks a button.
Using this code, we’re targeting the anchor tag, a. Then, we’re attaching a click Using this code, we’re targeting the anchor tag, a and attach a click event listener to it. Now when someone clicks on the a element, the function we defined will run.
Two issues though. First, it only hides the section; it doesn’t show it. Second, in Squarespace, the dang button refreshes the page! Let’s start with this second issue first.
#Preventing the Link From Working
The page reloads because our button doesn’t have a URL. In Squarespace, a button without a URL refreshes the page. Luckily, there’s some javascript that we can use that will prevent this — the preventDefault() method.
By adding event as an argument within our function, we can use the preventDefault() method on this event.
If that previous sentence was way over your head, that’s fine! The event parameter is very complex conceptually. Just know that this prevents our button from linking anywhere.
#Toggling Between Show & Hide
Let’s recap. To hide an element we use hide(), and to show an element we use show(). But, in jQuery, we also have access to the toggle() method, which toggles between these two. It shows an element if it’s hidden and hides an element if it’s showing.
Super freaking handy.
Additionally, we probably will want this section hidden when the page initially loads, so outside of the click event, let’s just run our hide() method once.
#Changing the Button Text
The last part to building out this component is making sure our button text switches between “Show” and “Hide”. Using the text() method, we can change the text of an element we’ve selected.
This is only going to display “Hide”, so we need a way to toggle it back to “Show”. Unfortunately, there is no toggleText() method built into jQuery, so we have to write some logic to handle this for us.
The text() method not only sets the text but also gets the text from an element. So, we can use text() to check the current text of the button. If it equals “Show,” then switch it to “Hide”, otherwise, change it to “Show.”
Lastly, let’s set the initial value of the text to "Show", since we’re also initially hiding the section. Our code should now look like this:
#Installing Our Code
Finally, this code doesn’t belong in the SITE code injection area, it belongs in the PAGE code injection area. However, it won’t work if we put it there. The problem is that this code runs before the sections and buttons are loaded!
To solve this, we can use this common function, which waits until the page is loaded before executing.
If we place our code between those curly brackets and then wrap all of that code in <script> tags, we can put this in the Page Header Code Injection area and we’re good to go!
Just replace the #block-id and the section[data-section-id] with the unique values for your button and section.
#Showing the Section When Editing
One last tweak we want to make is that we want to show this page section when we’re editing the site. Our code still runs in the Squarespace Editor, hiding the section from us and preventing us from making edits!
To force it to appear in our Custom CSS area, use the following code, targeting the specific section that we’ve hidden.
Quick Note About the Squarespace Editor
Be aware that testing this code in the Squarespace editor can be frustrating. Squarespace has this weird habit of jumping into the editor when you click on a button without a URL. This happens on totally new websites without any code added to them, so I’m not sure what’s causing it. If you figure out what’s causing it, please let me know!
#Next Up
If you followed along in this lesson, pat yourself on the back. This code probably won’t win you any awards at the Beautiful Code Convention*, but it does accomplish one amazing thing — it gets the job done.
But now, let’s take this one step further — because your client loves this component and wants it all over their website. Let’s make this code easier for us to reuse, and also add some fade or slide animations to the section.
In the next two lessons, we’ll:
Make the code more reusable (Part 2)
Learn more about jQuery functions and variables (Part 2)
Use Fade Transitions (Part 3)
Use Slide Transitions (Part 3)
Adjust the Timing of Fade & Slide Transitions (Part 3)
It’s gonna be a lot of fun, and I’ll see you in the next lesson.
*There is no Beautiful Code Convention :(
Related Code Snippets
The below Code Snippets are available to Code Curious members.


