Testimonial Slider with an Auto Layout Section
Update
To get your titles working appropriately, be sure to add the code in step 5 below to your page header code injection area. Squarespace updated the way they process the title text since I recorded this video, which broke the text.
I’ve recently begun the process of refreshing the design of things around my website (thank you Karen & Richard for the help!). One such update is this new testimonial slider on my my home page.

People Will talk… get it… it’s like, my name.
In this tutorial, I’m going to give you some code so that you can build this on your website, with the option to change a bunch of settings.
Let’s gooooo 🚀
1. Add an Auto Layouts Carousel
To use this code, we’ll be using Squarespace’s new Auto Layouts section.
This is a new element that anyone using Squarespace 7.1 can add to their website. It allows you to easily create, layout, and design a lists of items, banner slideshow, or carousel on your website.
Auto Layouts are very powerful and have a lot to offer. But there is so much going on, they can be a little confusing to use. So I’m going to walk you through the specific steps necessary for the CSS at the bottom of the page to work.
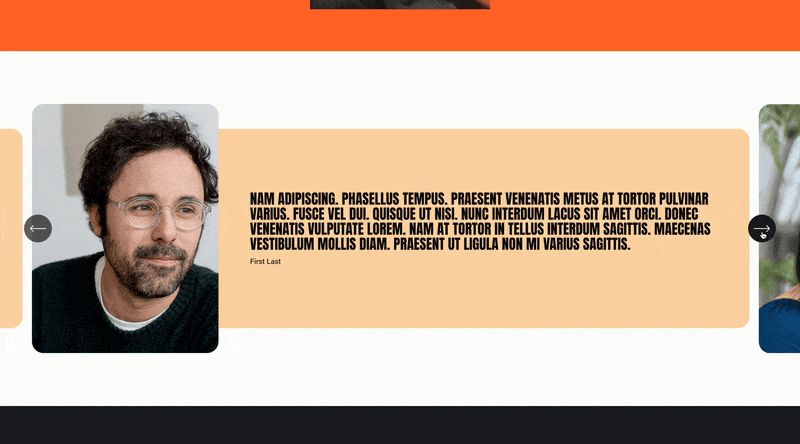
Right before we add any CSS, our Auto Layouts carousel should look like this:

First add a new auto Layouts section onto your page. When you hit the blue "New Section" button, select "Lists" on the left; all of the layout options with the “Auto” tag in the top right are Auto Layout Sections.

Auto Layout Sections
Each layout option is a starting point. Any layout you choose can be adjusted to any other layout in the settings. So don’t spend too much time here, I just chose the first.
2. Style and Layout the Carousel
Next, we need to get the layout right. Click the "Edit Content" button in the top right of the section to pull up the content editor. There are three main navigation tabs at the top: Elements, Content and Design.

Auto Layout Content Editor
Complete the following items:
Head over to the Design tab and make sure you’re using “Carousel” design.
Head over to the Elements tab and toggle off the "Show Image" & "Show Button" options under Items
Head back over to the Design tab and center the "Alignment" and toggle on the "Infinite Scroll" & "Show Adjacent" options.
At the bottom of the Design tab in the "Style" Folder; style the font sizes and arrow positioning however you’d like.
Then at the bottom of the Design tab in the "Size & Space" Folder; adjust the size & spacing however you’d like. You can always tweak these after-the-fact.
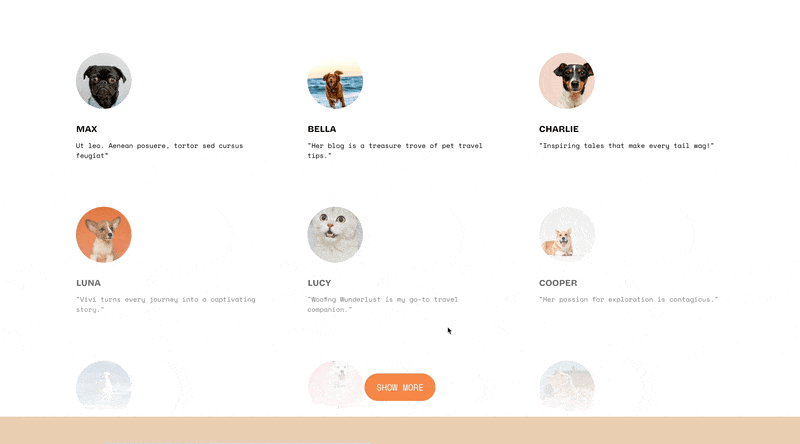
3. Add Your Testimonial Content
Finally, we need to add the content into each item. Head over to the Content tab and add in each of your Testimonials. Within each item, add the testimonial into the "Description" area and the individuals name & attribution into the "Title" area.
An individuals attribution can be any other distinguishing factor about them, like their title, what company they work for, or their location.
In order for us to separate out the individuals name from their attribution, we have to add in an HTML <span> element with a class of attribution.
For example:
Karen Herzog <span class="attribution">Branding & Marketing Stratigest & Web Designer</span>

Anything between the <span> tags will be the individuals attribution.
Now we’re ready for the Custom CSS.
4. Add the CSS
If you just jumped down here without setting up your Auto List section, be sure you’re using the "Carousel" design option, and you’ve wrapped your attribution in a <span> element.
Paste this into your Custom CSS area.
Be sure to target the specific auto-layouts section you want this to apply to. Utilize Heather Tovey’s Squarespace ID Finder for help finding the sectionID.
Change any of the variables before the “Don’t Edit” note.
/* ========
  Start Testimonial Code
  From will-myers.com*/
unique_Section_ID {
  --background-color: #eee;
  --testimonial-color: #3a3a3a;
  --name-color: black;
  --att-color: hsla(0,0%,30%, 1);
  --arrow-bkg-color: #eee;
  --arrow-color: black;

  --border-radius: 20px 70px;
  --padding: 17px 34px;
  --min-height: 200px;

  --pointer-width: 34px;
  --pointer-height: 24px;

  --title-top-margin: 34px;
  --att-top-margin: 8px;

  //--att-font-family: 'Helvetica';
  --att-text-transform: uppercase;
  --att-font-size: .8rem;
  --att-line-height: 1.2rem;
  --att-font-weight: auto;

  /* =============
  	Dont' edit below here
  	unless you know what
    you're doing. */

  .list-item-content__text-wrapper{
    display:flex;
    flex-direction:column-reverse;
  }
  .list-item-content__description{
    position:relative;
    padding: var(--padding);
    border-radius: var(--border-radius);
    background-color: var(--background-color);
    min-height: var(--min-height);
    display:grid;
    place-items:center;
  }
  .list-item-content__description > * {
    color: var(--testimonial-color, initial);
    margin: 0px 0px;
  }
  .list-item-content__description::after {
    content: '';
    width: var(--pointer-width);
    height: var(--pointer-height);
    background: var(--background-color);
    display:block;
    position:absolute;
    bottom: ~'calc((-1 * var(--pointer-height)) + 1px)';
    left:50%;
    transform: translateX(-50%);
    clip-path: polygon(0% 0%, 100% 0%, 50% 100%);
  }
  .user-items-list-carousel .list-item-content__title {
    margin-top:var(--title-top-margin);
    color: var(--name-color);
  }
  .list-item-content__title .attribution{
    display:block;
    margin-top:var(--att-top-margin);
    font-family:var(--att-font-family);
    line-height: var(--att-line-height);
    font-size: var(--att-font-size);
    font-weight:var(--att-font-weight);
    color:var(--att-color);
    text-transform:var(--att-text-transform);
  }
  .user-items-list-carousel .user-items-list-carousel__arrow-icon-background {
    background-color:var(--arrow-bkg-color);
  }
  .user-items-list-carousel .user-items-list-carousel__arrow-icon-foreground {
    stroke: var(--arrow-color);
  }
}
/*END Testimonial Code*/
5. Add the Javascript
Squarespace has changed some things since I first made this tutorial, so be sure add this Javascript into the page header code injection area of the page with your testimonial Slider
<script>
  (function() {
    window.addEventListener('DOMContentLoaded', setListSectionTitles);

    function setListSectionTitles() {
      let titles = document.querySelectorAll('.list-item-content__title');
      if (titles.length > 0) {
        for (title of titles) {
          let inner = title.innerText;
          title.innerHTML = '';
          title.insertAdjacentHTML('afterbegin', inner);
          let span = title.querySelector('span');
          if (!span) continue;
          let spanClass = span.classList[0];
          spanClass= spanClass.toLowerCase();
          span.classList = spanClass;
        }
      }
    }
  }());
</script>
Hope this helps! Comment any questions you have.
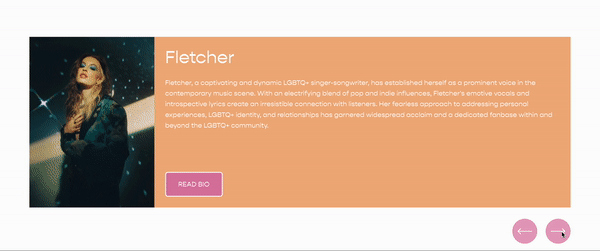
Related Code Snippets
The below Code Snippets are available to Code Curious members.