
How Does Sticky Work?
In this intro lesson to the sticky property, we’re going to get a high-level understanding of what It does and how to use it.
With CSS it’s quite easy to make an element sticky. All we need to do is set it’s position property to sticky and then tell it where to stick.
.sidebar {
  position: sticky;
  top: 0;
}
This .sidebar will now be sticky with an offset of 0px from the top. However it will only remain sticky within the confines of it’s containing element.
So what is a containing element?
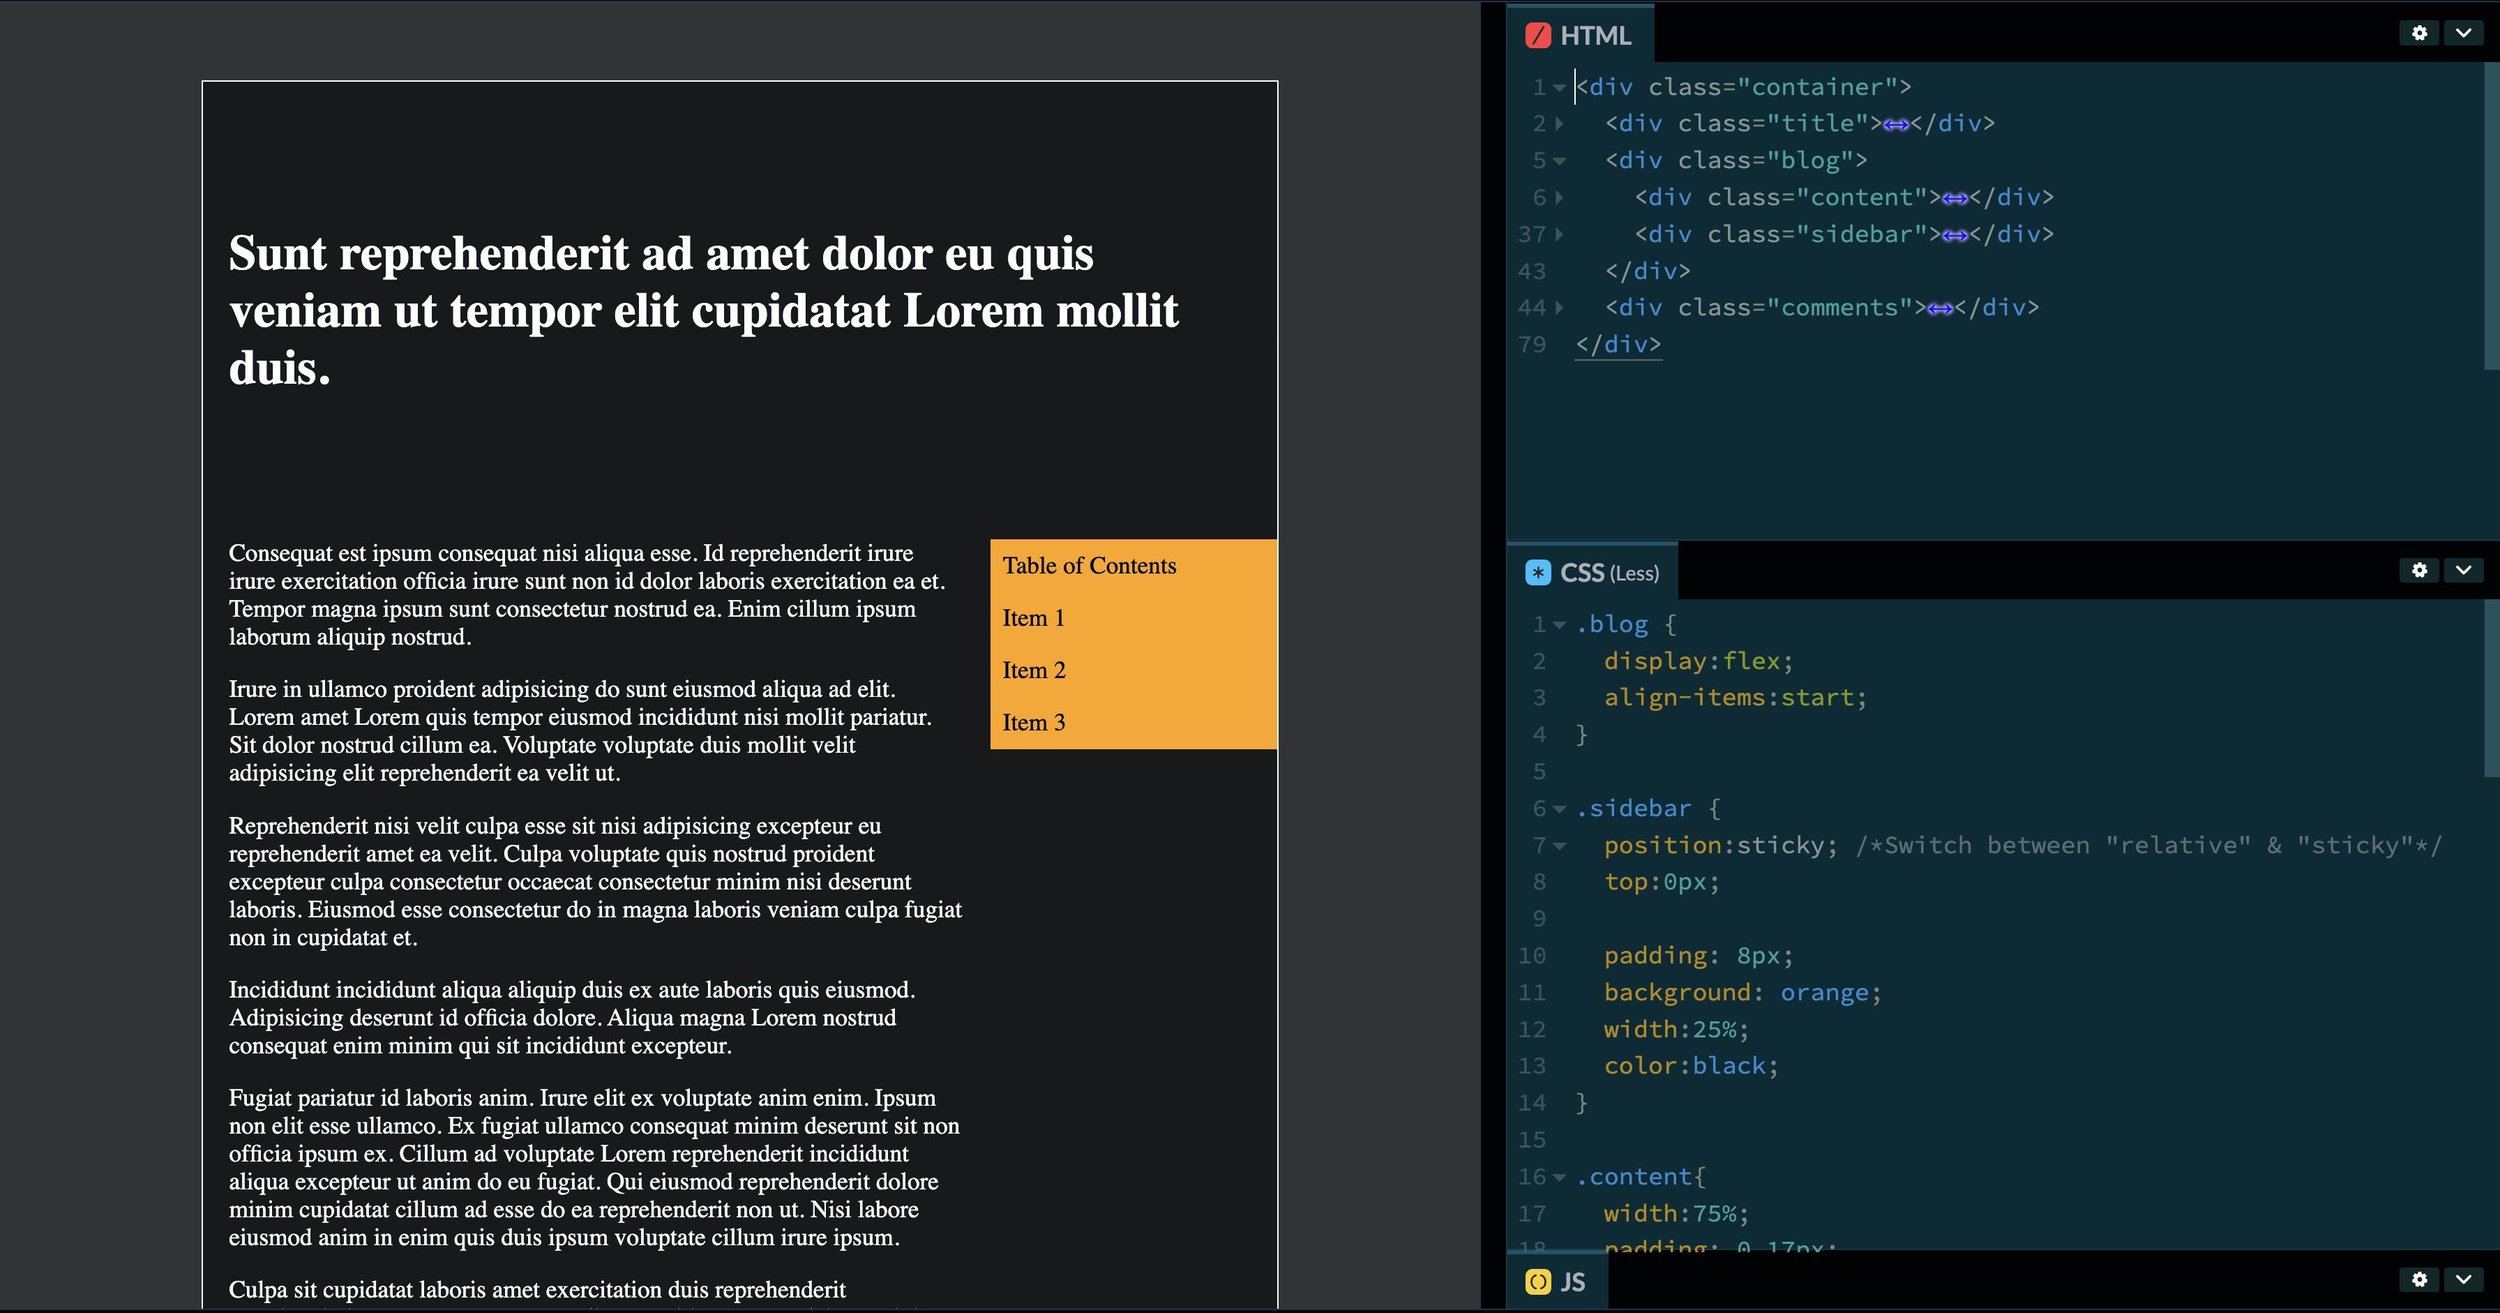
As a example, let’s create a sticky sidebar for a blog page. Here is the rough HTML of what that might look like:
 <div class="blog">
   <div class="content">... Blog Content Here ... </div>
   <div class="sidebar">Table of Contents </div>
 </div>
If we use our sticky code from above, the sidebar will be sticky within the confines of it’s containing element, .blog.
If you have another element outside of the blog element, say a comments section, the sidebar won’t be sticky.
 <div class="blog">
   <div class="content">... Blog Content Here ... </div>
   <div class="sidebar">Table of Contents </div>
 </div>
 <div class="comments"> </div>
The sidebar stops sticking, when you scroll past the blog into the comments area.
Many times, we might not want to have our sticky element stuck to the very top of our page.
Maybe the main nav is overlapping it, or maybe you just want some more spacing to add some visual symmetry.
Either way, you can easily adjust the offset of the sticky element, by adjusting the top property.
.sidebar {
  position: fixed;
  top: 100px;
}
I’ve built out a simple demo version of this layout in the CodePen below. Feel free to jump in, fork it and play around.
For More Lessons in this Series, Join the Membership.